Publishing Remote Desktop Certificates
 While extremely convenient, the Remote Desktop Protocol can be extremely dangerous if not secured correctly. Typical things you should consider are ACLs, firewall rules, smart cards, RDP Gateways, jump boxes or even disabling RDP altogether.
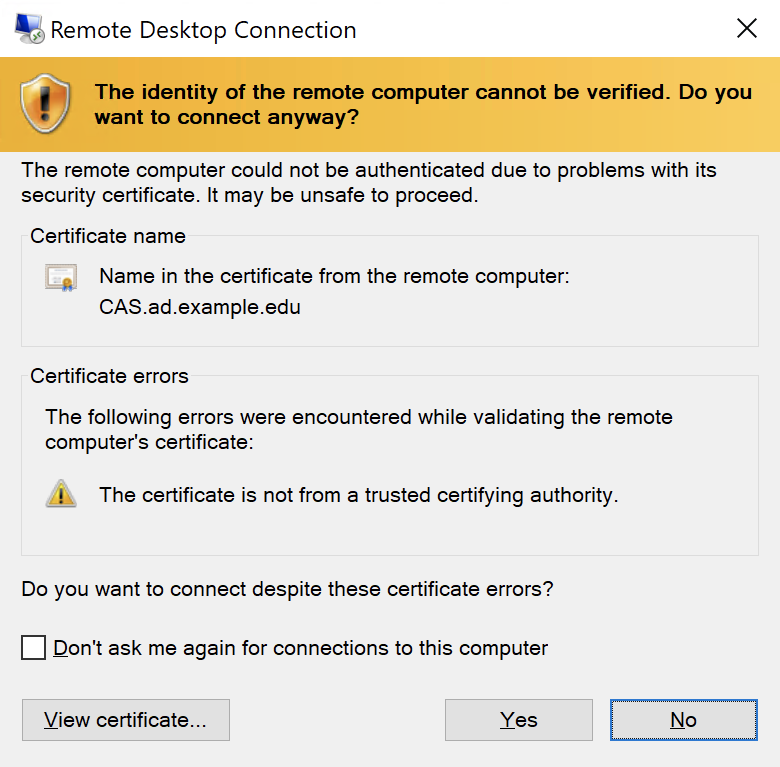
We’ve all seen the certificate error on connecting to remote systems. RDP uses TLS certificates just like a web site to secure your connection. By default, a Windows device creates its own self-signed certificate to present to clients connecting to it. Since the certificate is not issued by a trusted authority, your workstation won’t trust it. This should be avoided since a threat actor could initiate a man-in-the-middle attack without your knowledge. We can have the devices enroll in an trusted certificate with the Certificate Authority, which will be covered here.
Requirements
- An Active Directory infrastructure
- A server configured as an Enterprise Active Directory Certificate Authority
Configure a Remote Desktop Connection Template
- Logon to your Enterprise Certificate Authority or a PC with RSAT Tools installed
- Open the Certificate Authority MMC by clicking the Start Menu and typing
certsrv.mscand pressing Enter - Click on your CA Server
- Right-click on Certificate Templates and select Manage
- In the Certificate Templates Console, right-click on the Computer template and select Duplicate Template
- On the Compatibility tab, under Certificate Authority choose the closest version to your CA server’s version, and under Certificate recipient choose the oldest version of Windows OS supported in your organization. Click OK on any pop-up windows.
- On the General tab, enter a name for this template such as
RemoteDesktopConnectionIt is important that you spell this correctly and remember the exact name entered here. This will be used later in a Group Policy Object.
- On the Cryptography tab, set the Provider Category to Key Storage Provider. Set the Algorithm to ECDH_P256 and the Request hash to SHA256
- On the Extensions tab, click Application Policies then click Edit
- On the Edit Application Policies Extension pop-up, click Client Authentication then click Remove and OK
- On the Security tab, ensure Domain Computers have Enroll checked under Allow
- Click Add…
- Type in Domain Controllers and click OK
- Ensure Domain Controllers have Enroll checked under Allow
- On the Subject Name tab, set the Subject name format to Common Name
- Click OK
- Close the Certificate Templates Console
Publish the Certificate Template on the CA
- In the Certificate Authority MMC, right-click on Certificate Templates and select New > Certificate Template to Issue
- On the Enable Certificate Templates pop-up, choose RemoteDesktopConnection and click OK
- Close the Certificate Authority MMC
Configure the Remote Destop Certificate Group Policy Object
- Logon to your Domain Controller or a PC with RSAT Tools installed
- Open the Group Policy Management MMC by clicking the Start Menu and typing
gpmc.mscand pressing Enter - Browse to the Default Domain Policy or create a new policy at the top of the domain
- Right-click Default Domain Policy, or the policy you created, and select Edit
- In the Group Policy Management Editor, browse to Computer > Policies > Administrative Templates > Windows Components > Remote Desktop Services > Remote Desktop Session Host > Security
- Double-click Server authentication certificate template
- Click Enable
- Under Certificate Template Name enter the template name you used earlier, in this case
RemoteDesktopConnection - Click OK
- Close the Group Policy Management Editor and Group Policy Management windows
Once domain devices perform Group Policy updates, they will automatically enroll with this new RDP certificate. Afterwards, all domain devices will trust the certificates presented by other domain-joined machines.